
Jetson Nano Setup
Overview of Jetson Nano
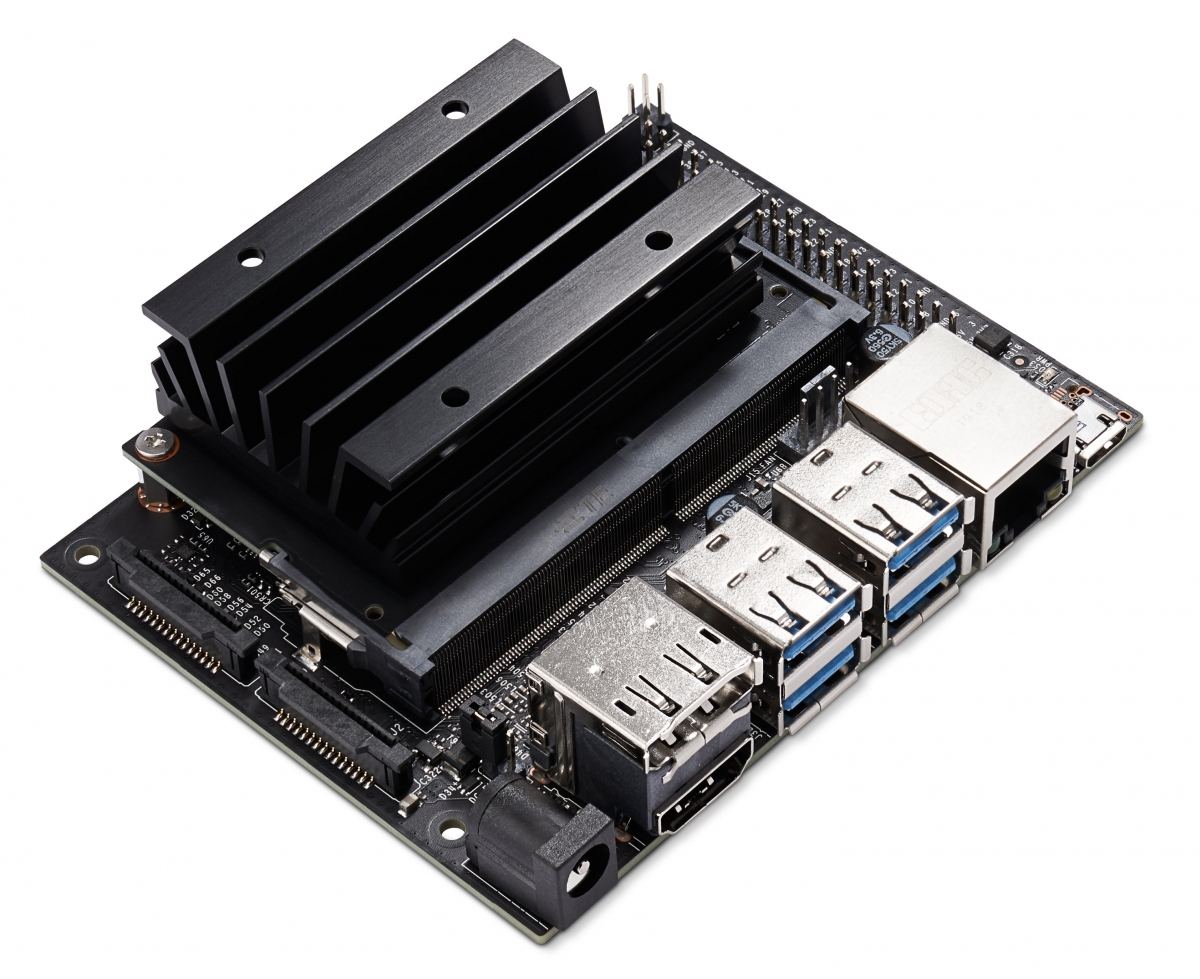 Jetson Nano 4Gb including 4 USB ports, a wired network port, an HDMI port, an HP port, a CSI camera connector, and a 40-pin port
“NVIDIA® Jetson Nano™ Developer Kit is a small, powerful computer that lets you run multiple neural networks in parallel for applications like image classification, object detection, segmentation, and speech processing. All in an easy-to-use platform that runs in as little as 5 watts.”
Install Ubuntu in Jetson Nano
Jetson Nano uses Ubuntu 18.04 system.
There are several ways to boost Jetson Nano with Ubuntu system: 1) Etcher 2) Nvidia SDK manager, 3) SD card mirroring. Both of them require you to have a Ubuntu system as the host computer. So if you do not have a Ubuntu system installed on your computer, follow
- For Windows https://www.thomasmaurer.ch/2019/06/how-to-create-an-ubuntu-vm-on-windows-10/
- For MacOS https://medium.com/analytics-vidhya/step-by-step-guide-to-download-and-install-virtual-box-in-macos-7341b6f99827
Before the boosting,
- Insert an empty SD card (at least 32 Gb) in the SD card slot.
- Make sure your power supply is at least 5V/4A
 insert the sd card
Follow this link to make sure your SD card is correctly formatted to Ext4 format
Etcher
Download Etcher in https://etcher.balena.io/
Download the Jetpack 4.5.1 sd card image from https://developer.nvidia.com/embedded/jetpack-sdk-451-archive
Select “For Jetson Nano Developer Kit”.
Connect the sd card to a host computer.
Open Etcher and select the sd card image, then select the mounted sd card, and flash.
Nvidia SDK manager
1. Download the SDK manager by the following link:
https://developer.nvidia.com/sdk-manager,
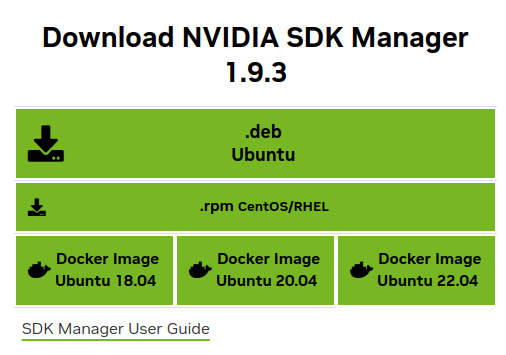 Download SDK manager click on the “.deb Ubuntu” to download the SDK manager.
You need to register an account. If you don’t know how to register, you can refer to link
2. After the download is complete, we enter the download path Downloads to install and input the following content in the terminal:
1
2
cd Downloads
sudo dpkg -i sdkmanager_1.6.1-8175_amd64.deb
Change the package name “sdkmanager_1.6.1-8175_amd64.deb” according to your downloaded version.
3. After the installation is complete, the system may report an error that the dependency files cannot be found. Enter the following command to solve this problem.
1
sudo apt --fix-broken install
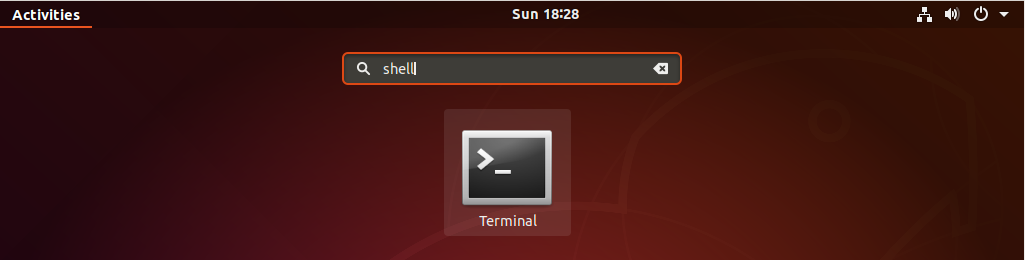
4. Now you can find the sdk manager in the application pages in Ubuntu
5. Enter Recovery mode
- Use jumper caps or Dupont wires to short-circuit pin 3 (FC REC) and pin 4 (GND pins), as shown in the figure below, at the bottom of the core board.
- Connect the DC power supply to the circular power port and wait a moment.
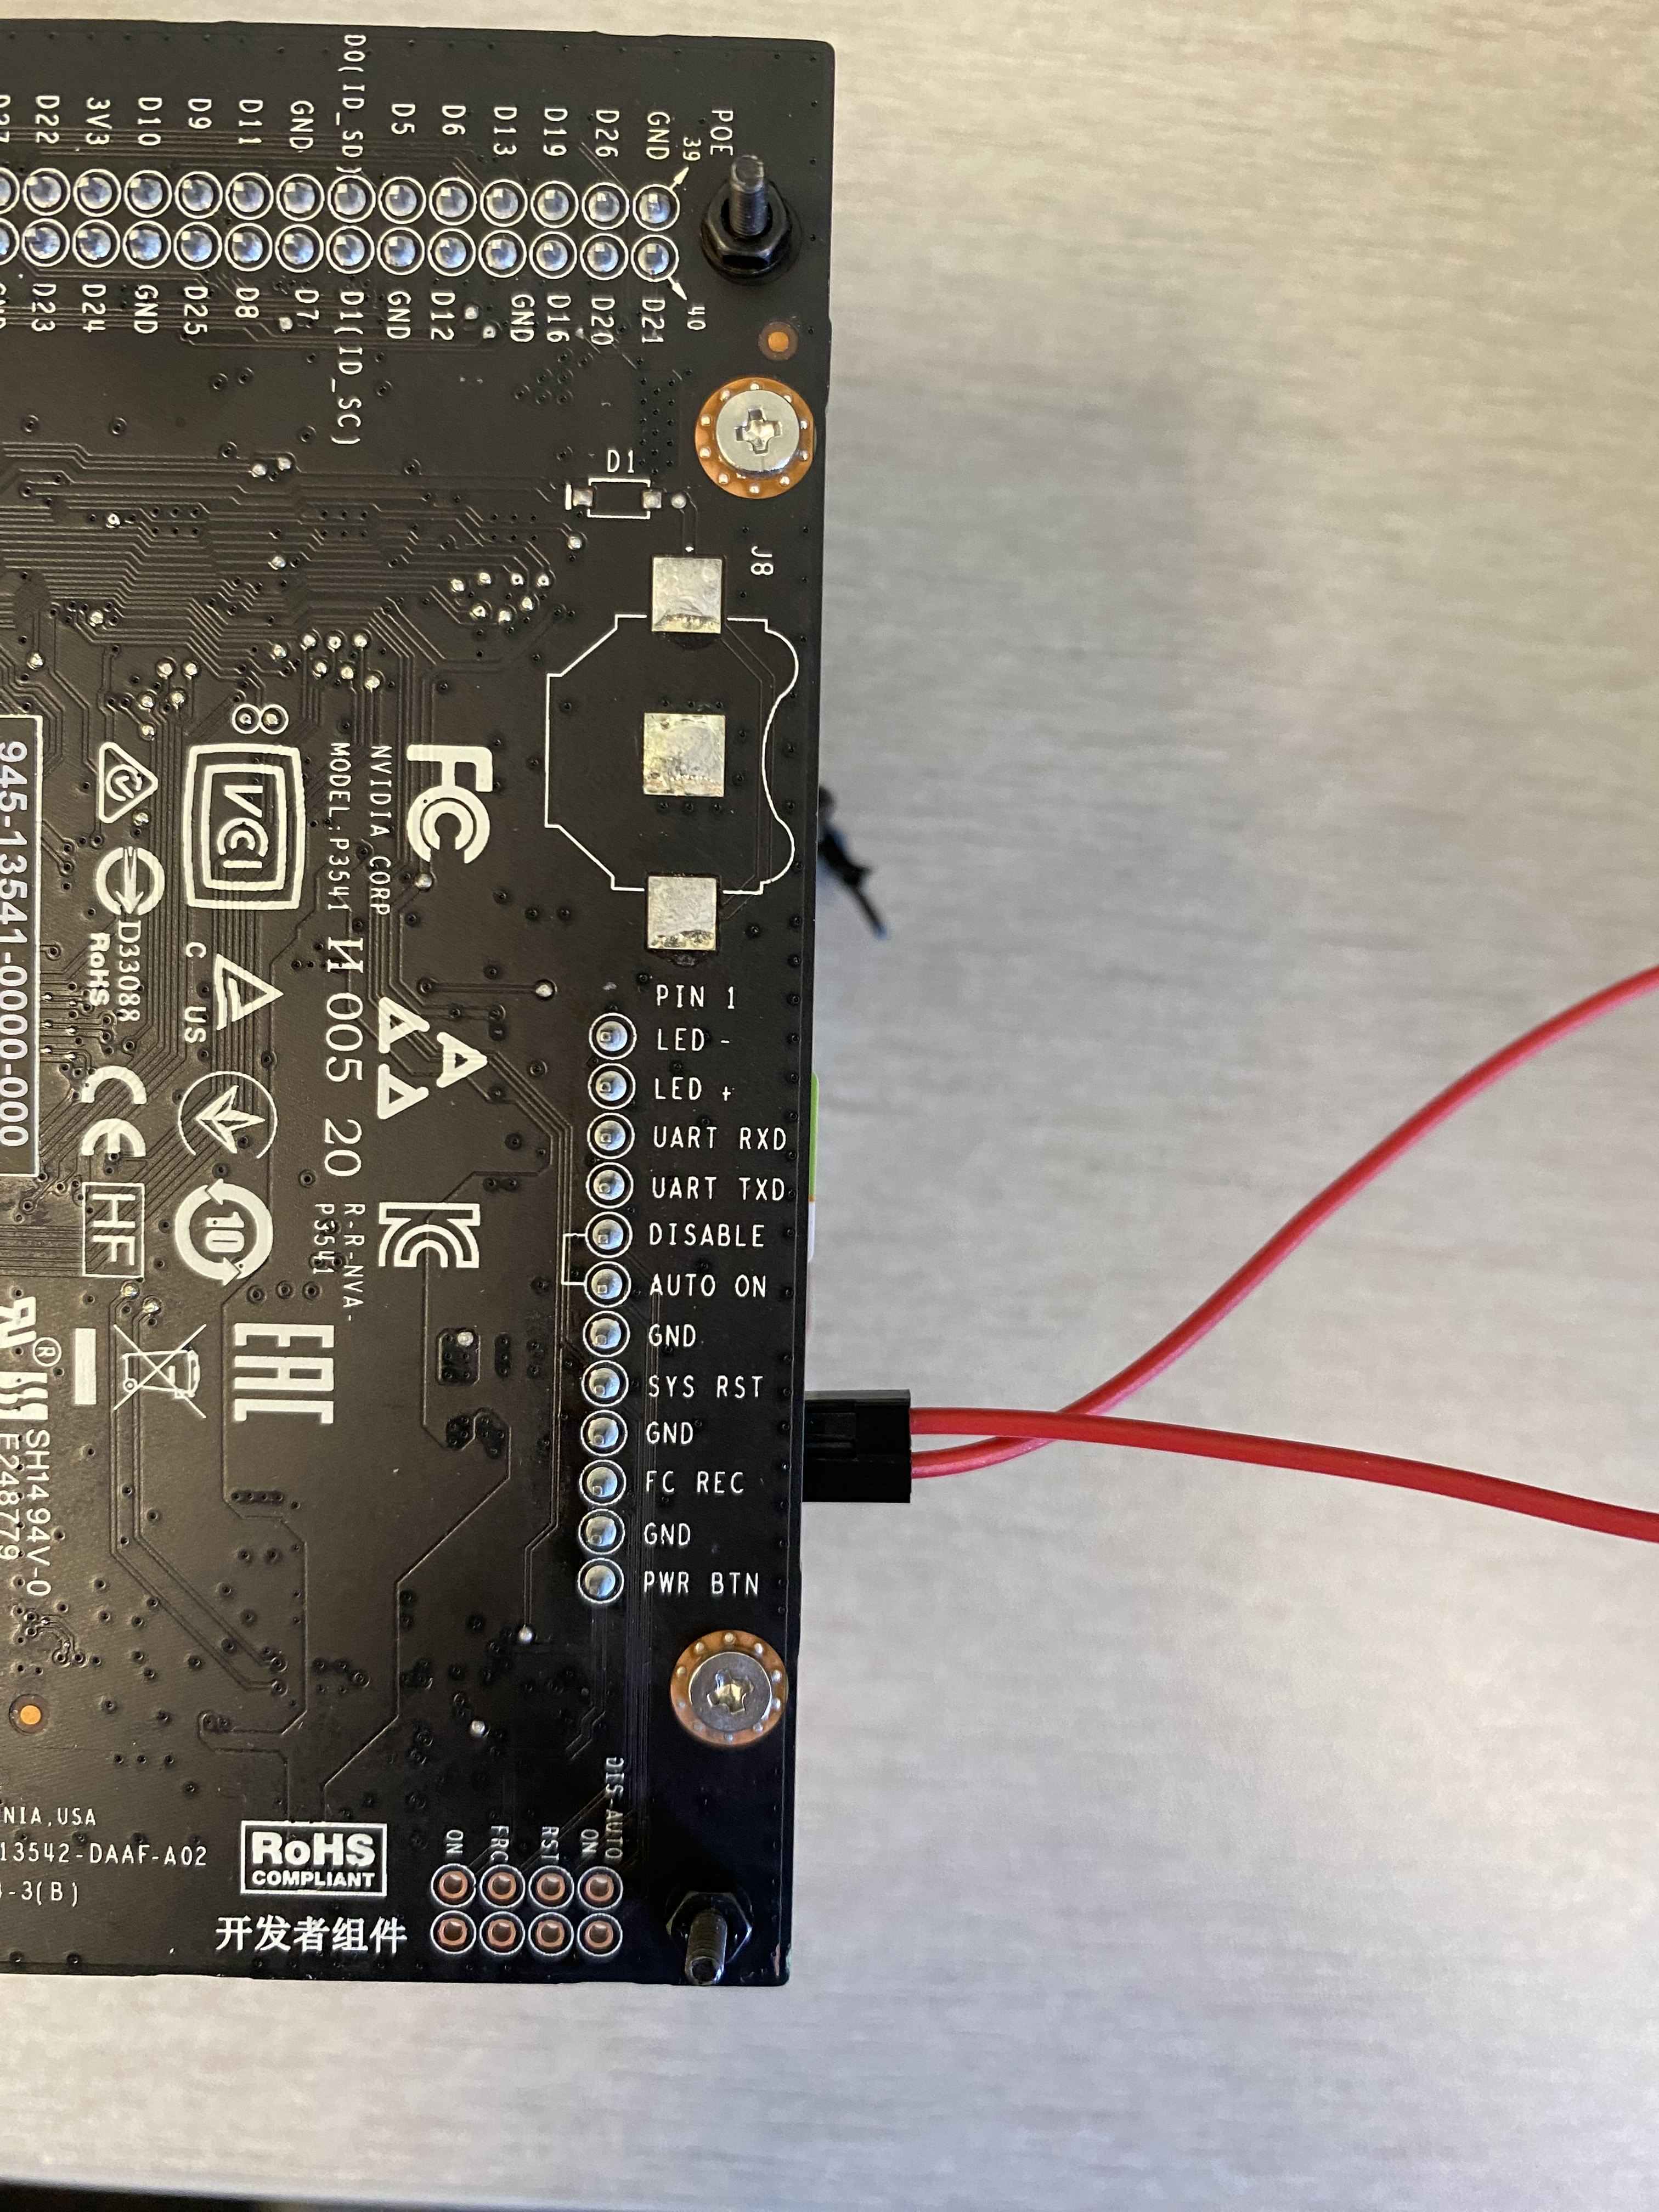 Connect pin 3 (FC REC) and pin 4 (GND pins) to enter recovery mode
6. Flash the Ubuntu image into Jetson
SD card mirroring
1. Install dependencies in host computer
Open a terminal, run the following commands:
1
2
sudo apt-get install qemu-user-static
sudo apt-get install python
2. Download Jetpack image
Go to https://developer.nvidia.com/embedded/linux-tegra-r3251, 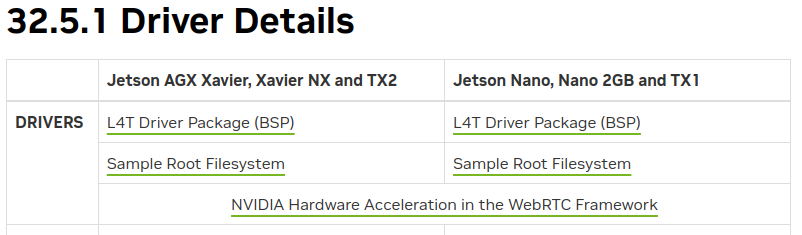 Download Jetpack image
Click on “L4T Driver Package (BSP)” and “ Sample Root Filesystem” to download the L4T driver and the sample root system for linux.
3. Compile the image
Open a terminal, create a folder named “32.5.1”:
1
mkdir 32.5.1&cd 32.5.1
Move the downloaded driver package “Jetson-210_Linux_R32.5.1_aarch64.tbz2” and the sample root system “Tegra_Linux_Sample-Root-Filesystem_R32.5.1_aarch64.tbz2” into the “32.5.1” folder.
In the same terminal, uncompress the driver package:
1
tar -xf Jetson-210_Linux_R32.5.1_aarch64.tbz2
Then go to the L4T package directory and uncompress the sample root file system:
1
2
cd Linux_for_Tegra/rootfs
sudo tar -xpf ../../Tegra_Linux_Sample-Root-Filesystem_R32.5.1_aarch64.tbz2
Wait until the compile is completed, then go back to the root directory “./Linux_for_Tegra”:
1
cd ..
Finally, install the image by:
1
sudo ./apply_binaries.sh
4. Flash the image into SD card
Before connecting to the host computer, Jetson Nano should be in recovery mode.
Connect the Micro USB port of the Jetson Nano to the Ubuntu host with a USB cable.
In the same terminal in step 3, flash the image into SD card by:
1
sudo ./flash.sh jetson-nano-emmc mmcblk0p1
After the compilation is completed, insert the SD card back into Jetson Nano. Now we are ready to boost Jetson Nano!
Boost Jetson Nano
Make sure you unplug the short-circuit for the recovery mode.
Connect the DC power supply to the circular power port and wait a moment.
Connect a keyboard, a mouse, and a monitor to Jetson Nano.
Follow the guide to complete Ubuntu installation.
Connect to ubcsecure
Follow the official guide https://ubc.service-now.com/kb_view.do?sysparm_article=KB0013556.
Reference
- Jetson Nano Specs https://developer.nvidia.com/embedded/jetson-nano-developer-kit
- Jetson Nano Dev Kit Manual https://www.waveshare.com/wiki/JETSON-NANO-DEV-KIT-MANUAL
- Nvidia SDK manager user guide https://docs.nvidia.com/sdk-manager/index.html
- Ubuntu tutorials https://ubuntu.com/tutorials
- Ubuntu installation guide https://ubuntu.com/tutorials/install-ubuntu-desktop#9-create-your-login-details
- The 40-pin port https://jetsonhacks.com/nvidia-jetson-nano-j41-header-pinout/